Butterfinger Balls
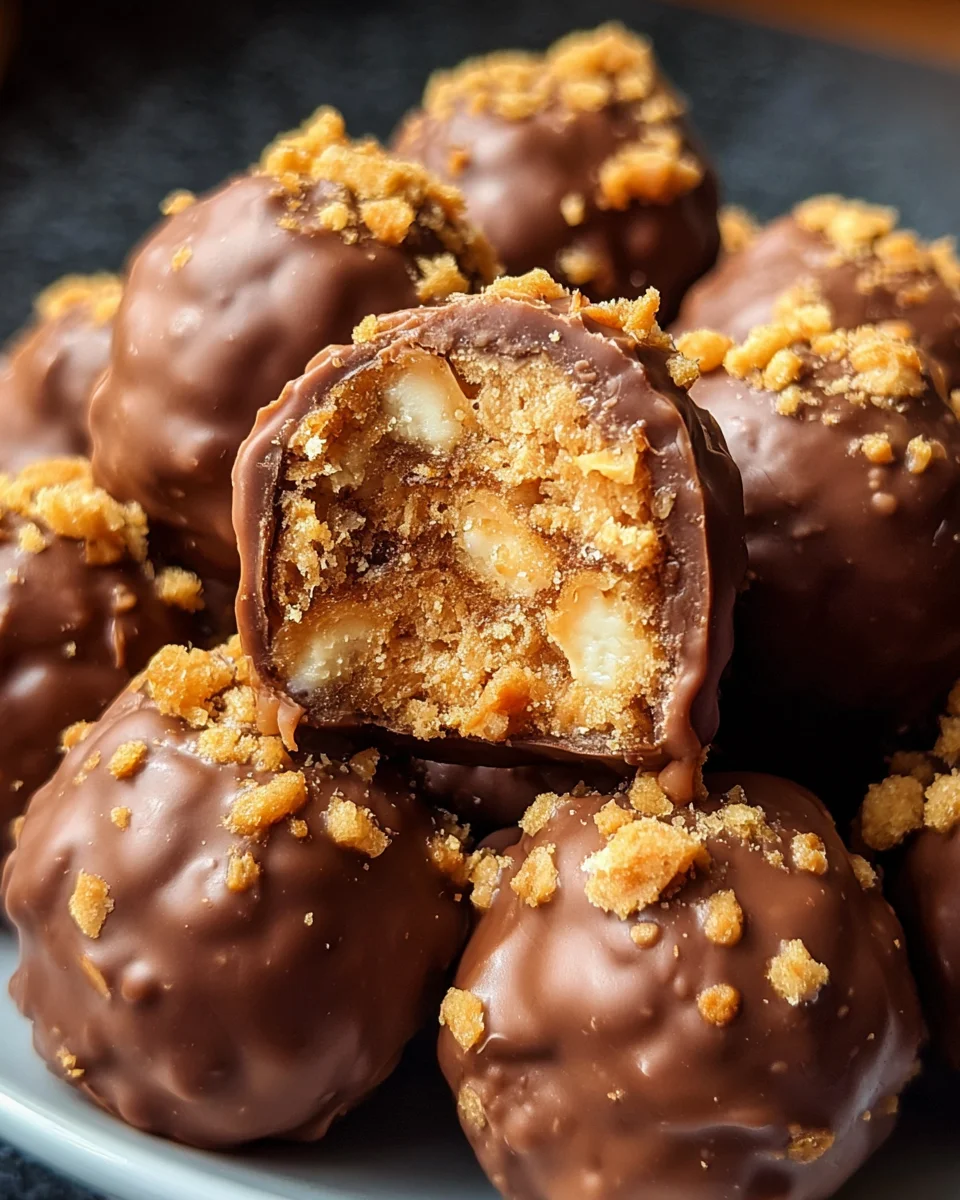
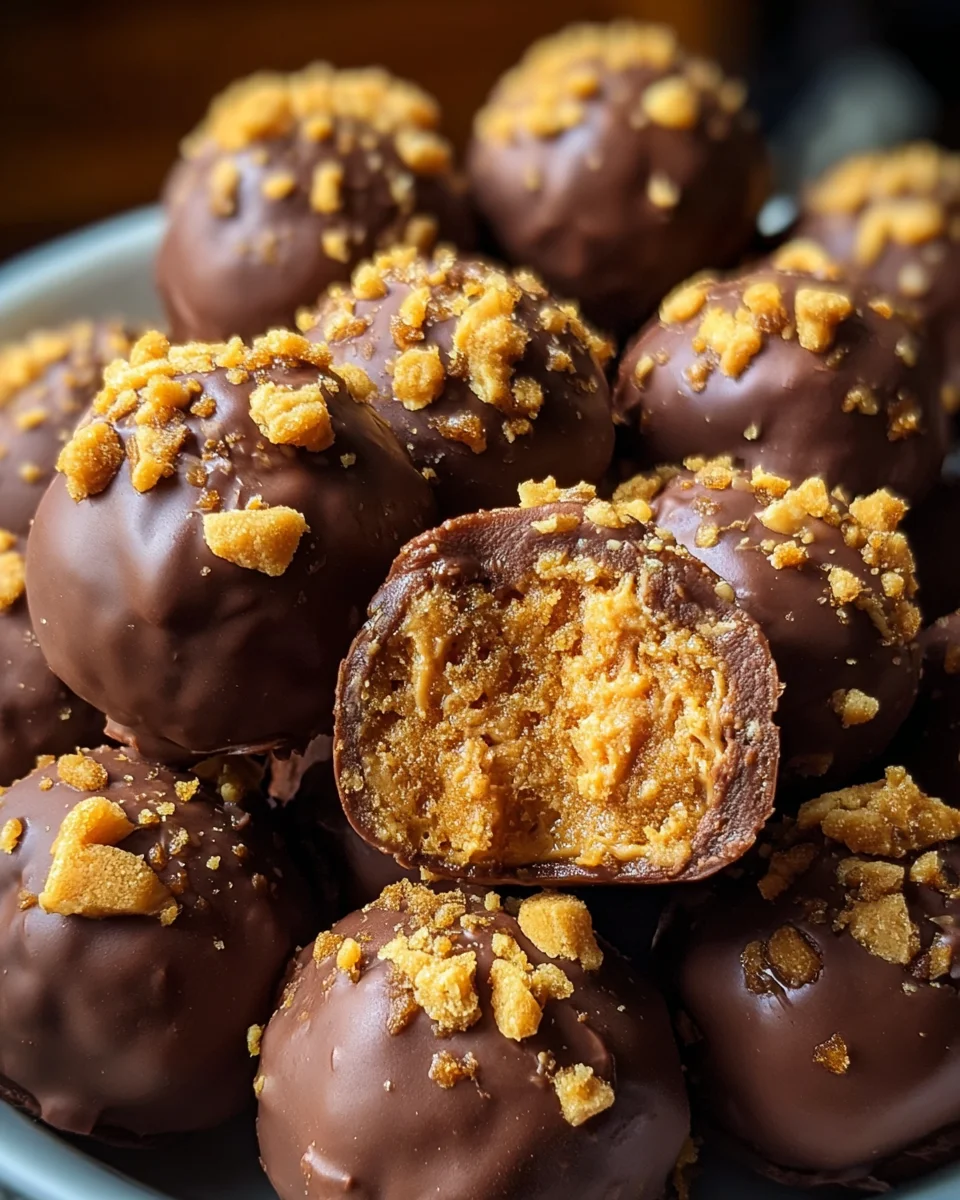
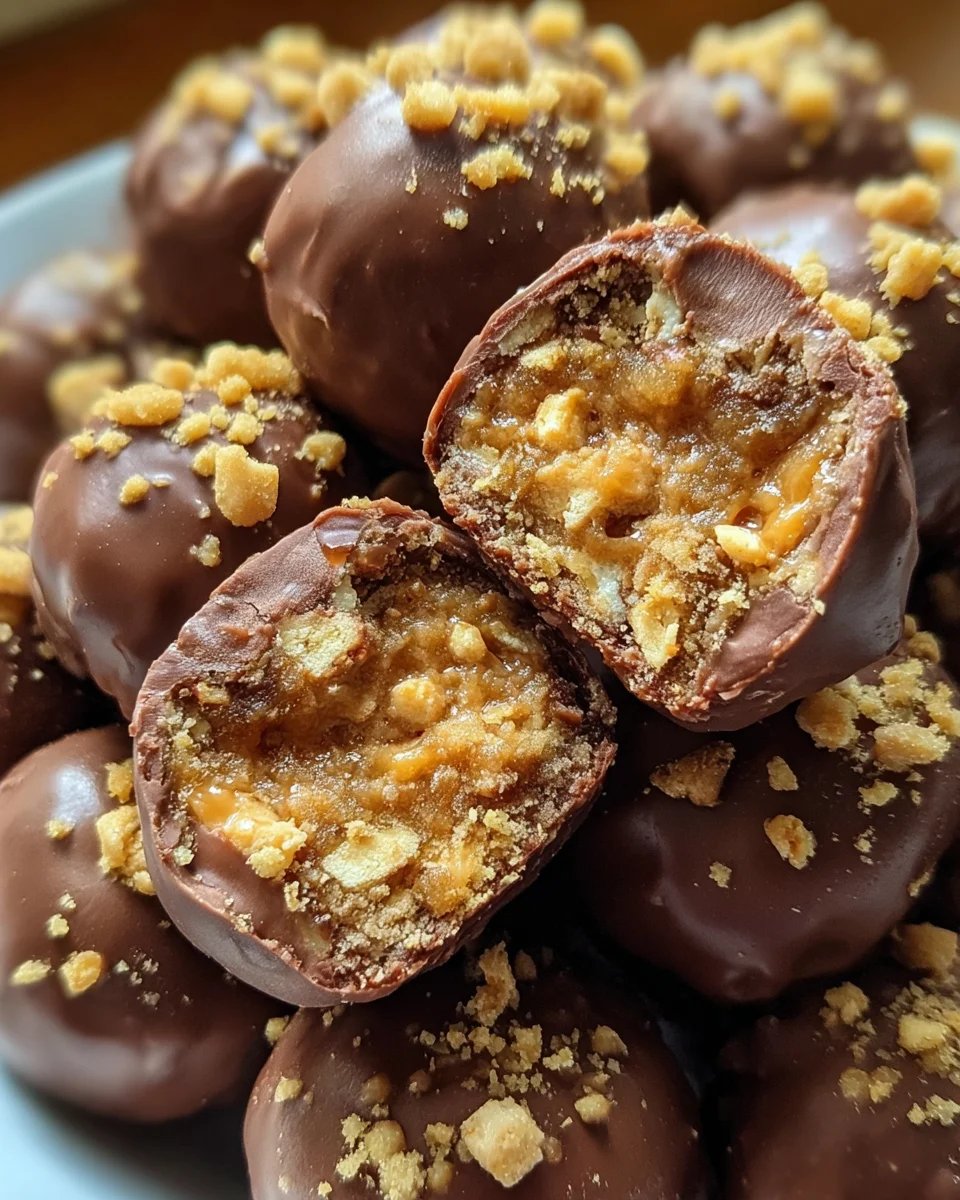
Indulge your taste buds with these irresistible Butterfinger Balls, where creamy peanut butter harmoniously melds with the crunch of graham crackers and Butterfinger candy bars, all cloaked in sumptuous melted chocolate. Perfect for social soirées and festive occasions, these heavenly morsels will vanish before you know it!
Why You’ll Love This Recipe
- Quick and Easy: With just a few simple steps, you can whip up these delightful treats in no time.
- Irresistible Flavor: The combination of peanut butter, chocolate, and Butterfinger bars creates a flavor explosion that will satisfy any sweet tooth.
- Versatile Treat: Ideal for parties, holidays, or just a sweet snack at home; these Butterfinger Balls fit any occasion.
- No Baking Required: Enjoy the simplicity of making dessert without turning on the oven.
- Customizable Toppings: Feel free to add your favorite sprinkles or toppings to personalize each ball.
Tools and Preparation
Before diving into making your Butterfinger Balls, gather the essential tools to ensure a smooth process.
Grab This Chef Knife Now - Almost Gone!
- Stays Razor-Sharp: Ice-hardened blade keeps its edge longer than ordinary knives
- Superior Grip Control: Unique finger hole design gives you perfect balance and safety
- Built to Last a Lifetime: Premium stainless steel blade with elegant beech wood handle
Customer Reviews ★★★★★
Essential Tools and Equipment
- Mixing bowl
- Electric mixer or stand mixer
- Cookie sheet
- Parchment paper
- Microwave-safe bowl
Importance of Each Tool
- Mixing bowl: Provides ample space for combining ingredients without spilling.
- Electric mixer or stand mixer: Ensures a smooth and creamy texture by thoroughly blending the mixture.
- Cookie sheet: Serves as the perfect surface for shaping and chilling your Butterfinger Balls.
Ingredients
Ingredients:
– 4 tablespoons softened butter (½ stick)
– 1 teaspoon vanilla extract
– 8 ounces chocolate bark or chocolate chips
– ½ cup Butterfinger bars (crushed)
– 1 cup powdered sugar
– 1 cup peanut butter (avoid all-natural varieties)
– ¾ cup crumbs from graham crackers
– Optional garnishes: additional crushed Butterfinger bars, festive sprinkles, or coarse sea salt
How to Make Butterfinger Balls
Step 1: Prepare the Dough
In a mixing bowl, combine the peanut butter and softened butter. Use an electric or stand mixer set to medium speed and blend until the mixture is creamy and uniform.
Step 2: Add Aromatic Notes
Incorporate the vanilla extract into the mixture. Blend thoroughly until well combined.
Step 3: Sweeten the Deal
Gradually add the powdered sugar, mixing at low speed. Scrape down the sides of the bowl to ensure even mixing throughout.
Step 4: Crunch Time
Gently fold in the graham cracker crumbs and crushed Butterfinger bars. Mix until evenly distributed throughout the dough.
Step 5: Shape ’em Up
Align a large cookie sheet with parchment paper. Scoop out approximately 1 to 1½ tablespoons of dough, roll into neat balls, and place them onto the cookie sheet.
Step 6: Chilling Phase
Freeze the dough balls on the sheet for roughly 30 minutes until they are completely firm.
Step 7: Melting the Chocolate
Once chilled, proceed to melt your chosen chocolate. Use a microwave-safe bowl and heat in 30-second spurts at 50% power, stirring between each interval. Be cautious not to overheat; some lumps should remain as they will melt while stirring.
Step 8: Coat and Decorate
Submerge each chilled ball into the luscious melted chocolate. You can fully coat them or leave part of the peanut butter mixture exposed for added texture.
Step 9: Finishing Touches
Sprinkle additional crushed Butterfinger bars, holiday-themed sprinkles, or a dash of flaky sea salt on top for that extra pop of flavor.
Step 10: The Grand Finale
Allow the chocolate coating to solidify completely before indulging in your delicious Butterfinger Bliss Balls. Enjoy!
How to Serve Butterfinger Balls
Butterfinger Balls are a delightful treat that can be served in various ways to impress your guests. Whether for a party or a cozy family gathering, these suggestions will elevate your serving game.
On a Dessert Platter
- Arrange the Butterfinger Balls artfully on a large platter, mixing them with other treats like brownies or cookies for an inviting display.
As Party Favors
- Package individual Butterfinger Balls in small clear bags tied with festive ribbons. This makes for a sweet takeaway that guests will love.
With Dipping Sauces
- Serve alongside chocolate or caramel dipping sauces for an interactive dessert experience. Guests can dip their Butterfinger Balls as they please.
At Seasonal Gatherings
- Incorporate Butterfinger Balls into holiday dessert tables, pairing them with themed decorations and other seasonal sweets to enhance the festive atmosphere.
In Gift Boxes
- Create gift boxes filled with Butterfinger Balls and other homemade goodies. This personal touch makes for thoughtful gifts during celebrations.
With Ice Cream
- Present Butterfinger Balls atop scoops of vanilla ice cream for a delicious sundae twist. Drizzle with chocolate sauce for added indulgence.
How to Perfect Butterfinger Balls
For the best results when making Butterfinger Balls, consider the following tips to ensure they turn out perfectly every time.
-
Use Room Temperature Ingredients: Make sure your butter is softened and peanut butter is at room temperature. This helps in achieving a smooth mixture.
-
Chill Before Coating: Don’t skip the freezing step! Chilling the balls firm up the dough, making it easier to coat them in chocolate without falling apart.
-
Choose Quality Chocolate: Opt for high-quality chocolate bark or chips for coating. The better the chocolate, the richer the flavor of your Butterfinger Balls.
-
Experiment with Toppings: Get creative with toppings by trying different sprinkles, crushed nuts, or flavored sea salts to enhance both taste and presentation.
-
Store Properly: Keep your finished Butterfinger Balls in an airtight container in the fridge to maintain freshness and texture.
-
Adjust Sweetness: Depending on your preference, feel free to adjust the amount of powdered sugar to make your treat sweeter or less sweet as desired.
Best Side Dishes for Butterfinger Balls
While Butterfinger Balls are delightful on their own, pairing them with complementary side dishes can enhance your dessert experience. Here are some great options:
-
Chocolate Fondue: A rich chocolate fondue provides a perfect dipping option and encourages fun interaction among guests.
-
Fresh Fruit Salad: A light fruit salad offers a refreshing contrast to the sweetness of Butterfinger Balls, balancing flavors beautifully.
-
Mini Cheesecakes: Individual mini cheesecakes provide a creamy texture that pairs nicely with the crunchy goodness of your treats.
-
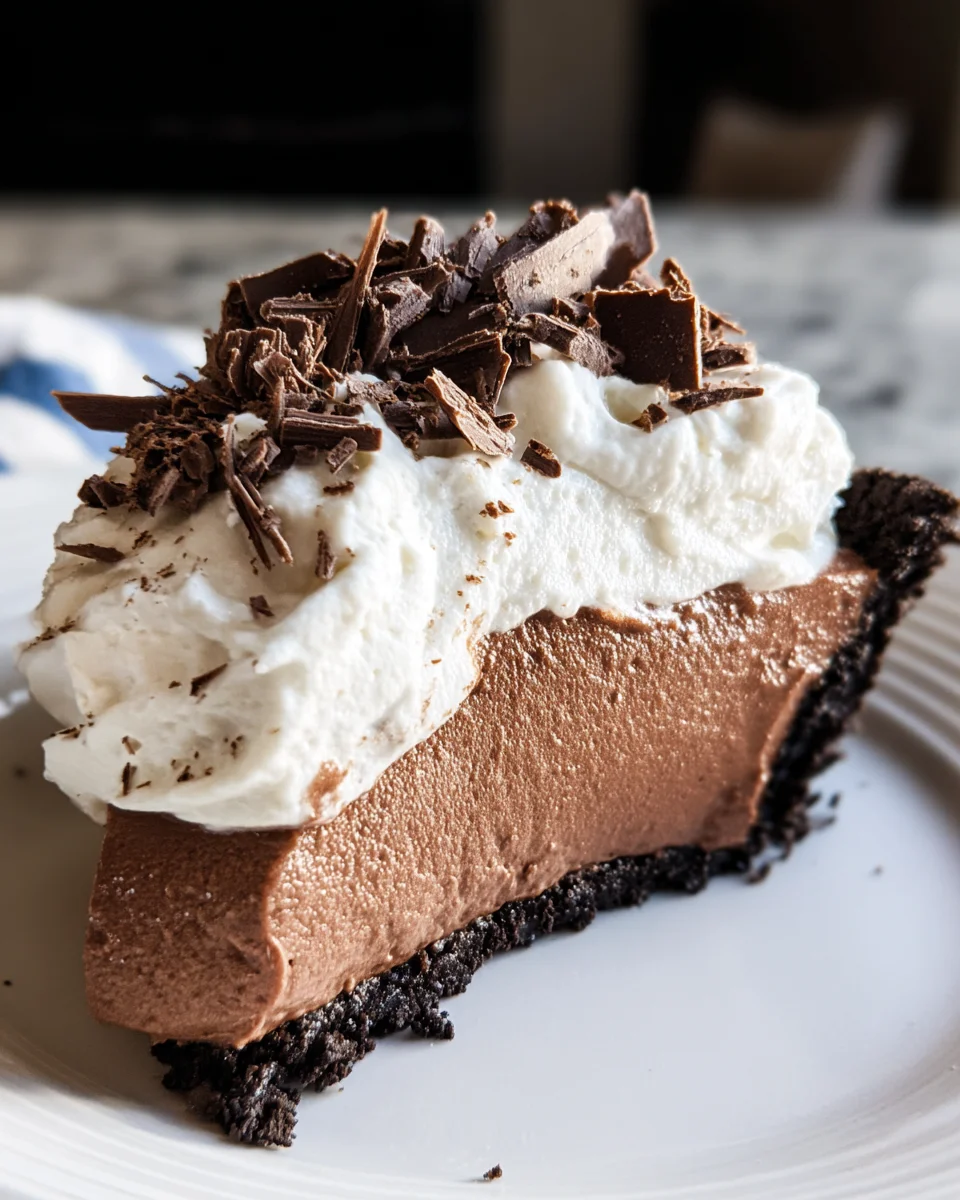
Caramel Apples: These bring an element of nostalgia and add another layer of sweetness that complements the flavors of the Butterfinger Balls.
-
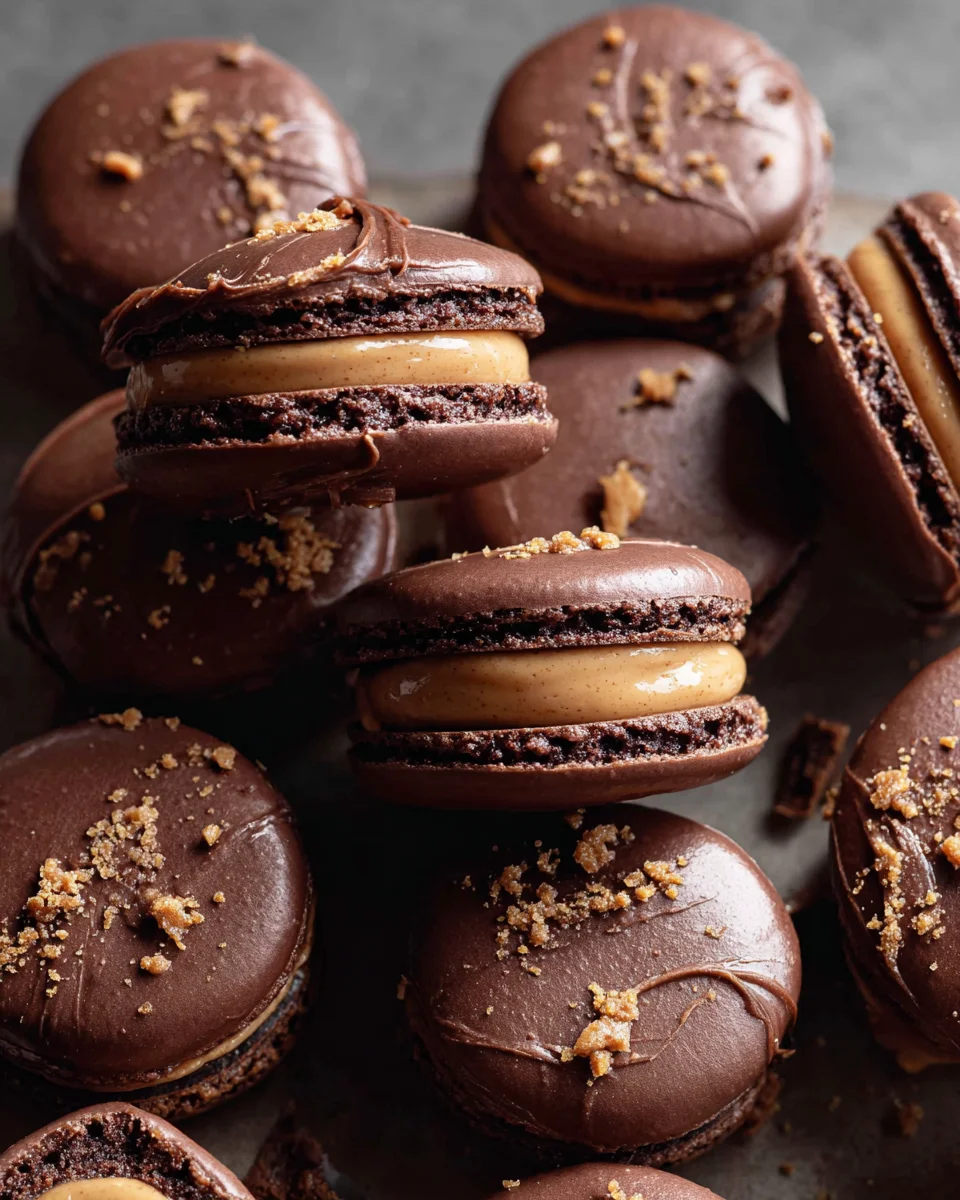
Peanut Butter Cookies: For peanut butter lovers, serving these cookies alongside will create a delightful theme that everyone will enjoy.
-
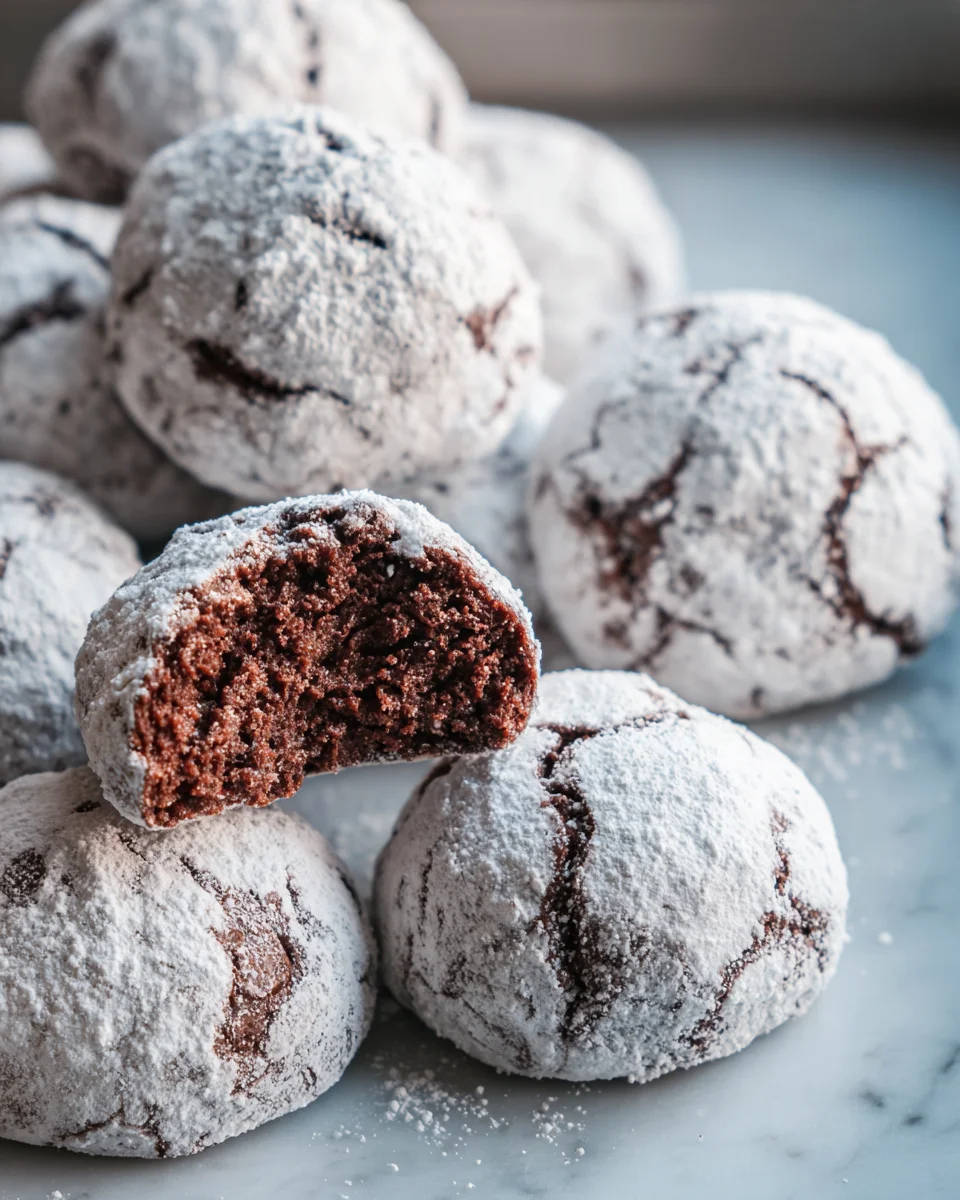
Brownie Bites: Rich brownie bites can make an irresistible duo with your Butterfinger Balls, satisfying any chocolate lover’s cravings.
-
Vanilla Ice Cream: Creamy vanilla ice cream serves as a great base for serving warm or chilled Butterfinger Balls atop it for an exquisite dessert experience.
-
Popcorn Bar: Offer a variety of flavored popcorns as a crunchy snack option that guests can enjoy while indulging in their sweet treats.
Common Mistakes to Avoid
When making Butterfinger Balls, it’s easy to overlook some important steps. Here are common mistakes and how to avoid them.
- Skipping the Cooling Time: Not chilling the dough balls can lead to a messy coating process. Always freeze them for at least 30 minutes for better handling.
- Overheating the Chocolate: Melting chocolate too quickly can cause it to seize. Use low power settings and stir frequently for a smooth consistency.
- Using Natural Peanut Butter: Natural peanut butter can alter the texture of your balls. Stick to conventional peanut butter for best results.
- Not Mixing Thoroughly: Failing to mix all ingredients well may result in uneven flavors. Use a mixer and scrape the bowl sides often for uniformity.
- Forgetting Optional Toppings: Skipping garnishes means missing out on added flavor and visual appeal. Consider adding crushed Butterfinger or sprinkles for a festive touch.
Storage & Reheating Instructions
Refrigerator Storage
- Store Butterfinger Balls in an airtight container in the refrigerator.
- They will stay fresh for up to one week.
Freezing Butterfinger Balls
- Place Butterfinger Balls in an airtight freezer bag or container.
- They can be frozen for up to three months.
Reheating Butterfinger Balls
- Oven: Preheat to 350°F (175°C) and warm for about 5-10 minutes.
- Microwave: Heat one ball at a time for 10-15 seconds until warm.
- Stovetop: Place them in a pan over low heat, turning occasionally until warmed through.
Frequently Asked Questions
Here are some common questions about making Butterfinger Balls.
What are Butterfinger Balls?
Butterfinger Balls are delightful treats made from peanut butter, graham cracker crumbs, and crushed Butterfinger bars, coated in chocolate.
Can I customize my Butterfinger Balls?
Absolutely! You can add different toppings like nuts or use various types of chocolate for coating to suit your taste.
How do I store leftover Butterfinger Balls?
Store them in an airtight container in the refrigerator or freeze them for longer shelf life.
How many servings does this recipe yield?
This recipe makes approximately 20 delicious Butterfinger Balls, perfect for sharing!
Final Thoughts
Butterfinger Balls are not only easy to make but also incredibly versatile. You can customize these treats with your favorite toppings or variations. Perfect for any occasion, these delightful morsels are sure to impress family and friends. Give them a try—you won’t regret it!

Butterfinger Balls
- Total Time: 20 minutes
- Yield: Approximately 20 servings 1x
Description
Indulge in the delightful world of Butterfinger Balls, a no-bake treat that combines the creamy goodness of peanut butter with the crunch of graham crackers and the sweet decadence of Butterfinger candy bars, all wrapped in rich melted chocolate. These irresistible bites are perfect for any gathering—be it a festive celebration or a cozy night in. With their simple preparation and customizable toppings, you can easily whip up these treats to satisfy your sweet tooth or impress guests. Each bite delivers a satisfying crunch and a burst of flavor that will leave everyone wanting more. Get ready to create a dessert that’s as fun to make as it is to eat!
Ingredients
- 1 cup creamy peanut butter
- 4 tablespoons softened butter
- 1 cup powdered sugar
- ¾ cup graham cracker crumbs
- ½ cup crushed Butterfinger bars
- 8 ounces chocolate bark or chocolate chips
- Optional: additional toppings like sprinkles or crushed candy
Instructions
- In a mixing bowl, combine peanut butter and softened butter. Mix until creamy.
- Add vanilla extract and blend well.
- Gradually mix in powdered sugar, then fold in graham cracker crumbs and crushed Butterfinger bars.
- Roll into balls (about 1 to 1½ tablespoons each) and place on a parchment-lined cookie sheet.
- Freeze for 30 minutes until firm.
- Melt chocolate in a microwave-safe bowl, stirring frequently.
- Coat each ball in melted chocolate and add any desired toppings.
- Allow chocolate to set before serving.
- Prep Time: 20 minutes
- Cook Time: 0 minutes
- Category: Dessert
- Method: No-Bake
- Cuisine: American
Nutrition
- Serving Size: 1 Butterfinger Ball (30g)
- Calories: 120
- Sugar: 10g
- Sodium: 60mg
- Fat: 8g
- Saturated Fat: 3g
- Unsaturated Fat: 5g
- Trans Fat: 0g
- Carbohydrates: 11g
- Fiber: 1g
- Protein: 3g
- Cholesterol: 5mg

